
HUAYI buyer resource
How to Measure and Specify Door Casings
A useful quotation starts with more than one width measurement. Record the opening, profile, wall condition, installation method and finish expectations together.
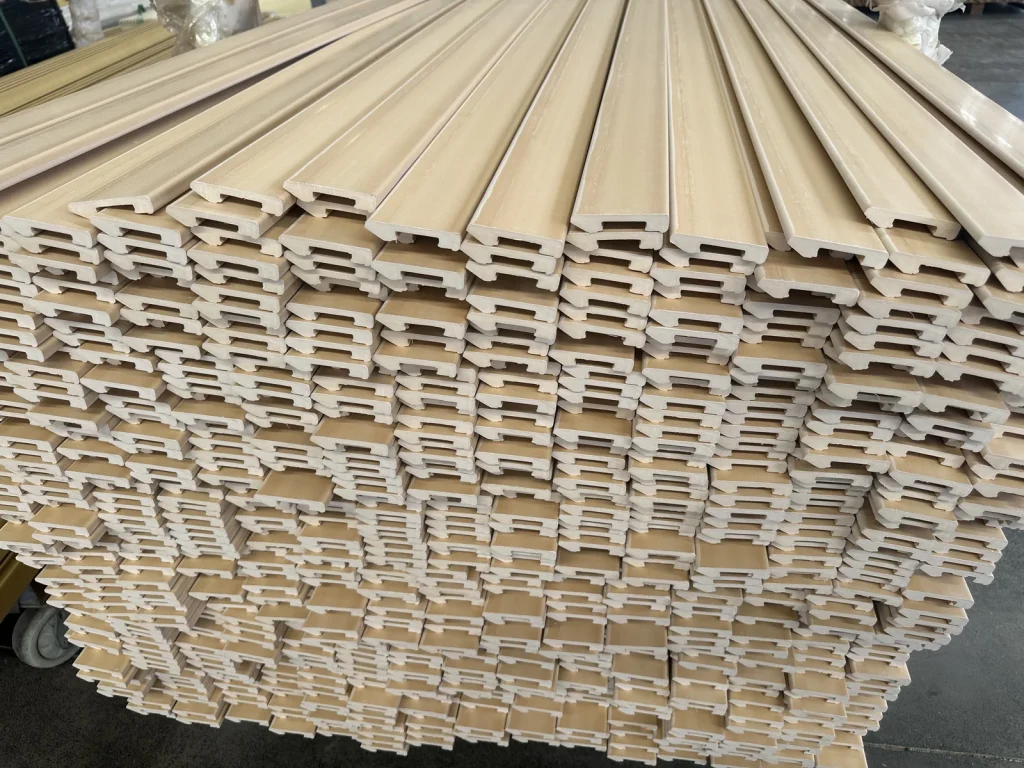
Start with the complete door opening
Measure the opening height and width at more than one point. Existing walls and frames are not always perfectly square, so the smallest and largest readings help show the real installation condition.
Also record the wall thickness, frame or jamb position, floor finish and the area the casing must cover. Photos with a tape measure in view are useful when a technical drawing is not yet available.
- Opening height and width at top, middle and bottom
- Finished wall thickness and door-frame position
- Required overlap on the wall and frame
- Left, right and head-piece arrangement
Describe the casing cross-section
The visible face width alone does not define a casing. Thickness, rebates, returns, grooves, curved edges and back relief all affect tooling, material use and installation.
The best evidence is a dimensioned cross-section drawing. A physical sample, clear end-view photo or traced outline can also help the supplier reproduce an existing market profile.
- Overall face width and maximum thickness
- Rebate, groove and return dimensions
- Edge radius, bevel or decorative machining
- Flatness and visible-face requirements
Confirm length and cutting plan
Tell the supplier whether profiles arrive as full lengths, pre-cut sets or project-specific pieces. Standard transport limits, carton dimensions and container loading can influence the most practical length.
If pieces will be mitred or cut locally, include the expected waste allowance. For pre-cut kits, provide handing, set composition and labelling requirements.
- Finished length or random-length range
- Full lengths versus pre-cut door sets
- End cutting, mitre and labelling requirements
- Carton quantity and handling limitations
Add material, finish and tolerance requirements
Dimensions cannot be separated from material and finish. MDF, WPC, plywood/LVL and solid wood behave differently during machining, wrapping, painting and transport.
State which dimensions are critical for fit and which are mainly visual. Tolerances should be agreed at sample approval, using measurements that can be checked consistently during production.
- Core material or performance objective
- Primer, paint, wrap, laminate, veneer or natural finish
- Colour and gloss reference
- Critical dimensions and inspection method
Before production: you approve the drawing and a sample, so the material, sizes, tolerances and finish are settled before we start.
Explore products and next steps
From this guide to the products and pages that go with it.
Need help with your specification?
Send a drawing, a sample photo or your target dimensions, and we will tell you what else we need to quote.