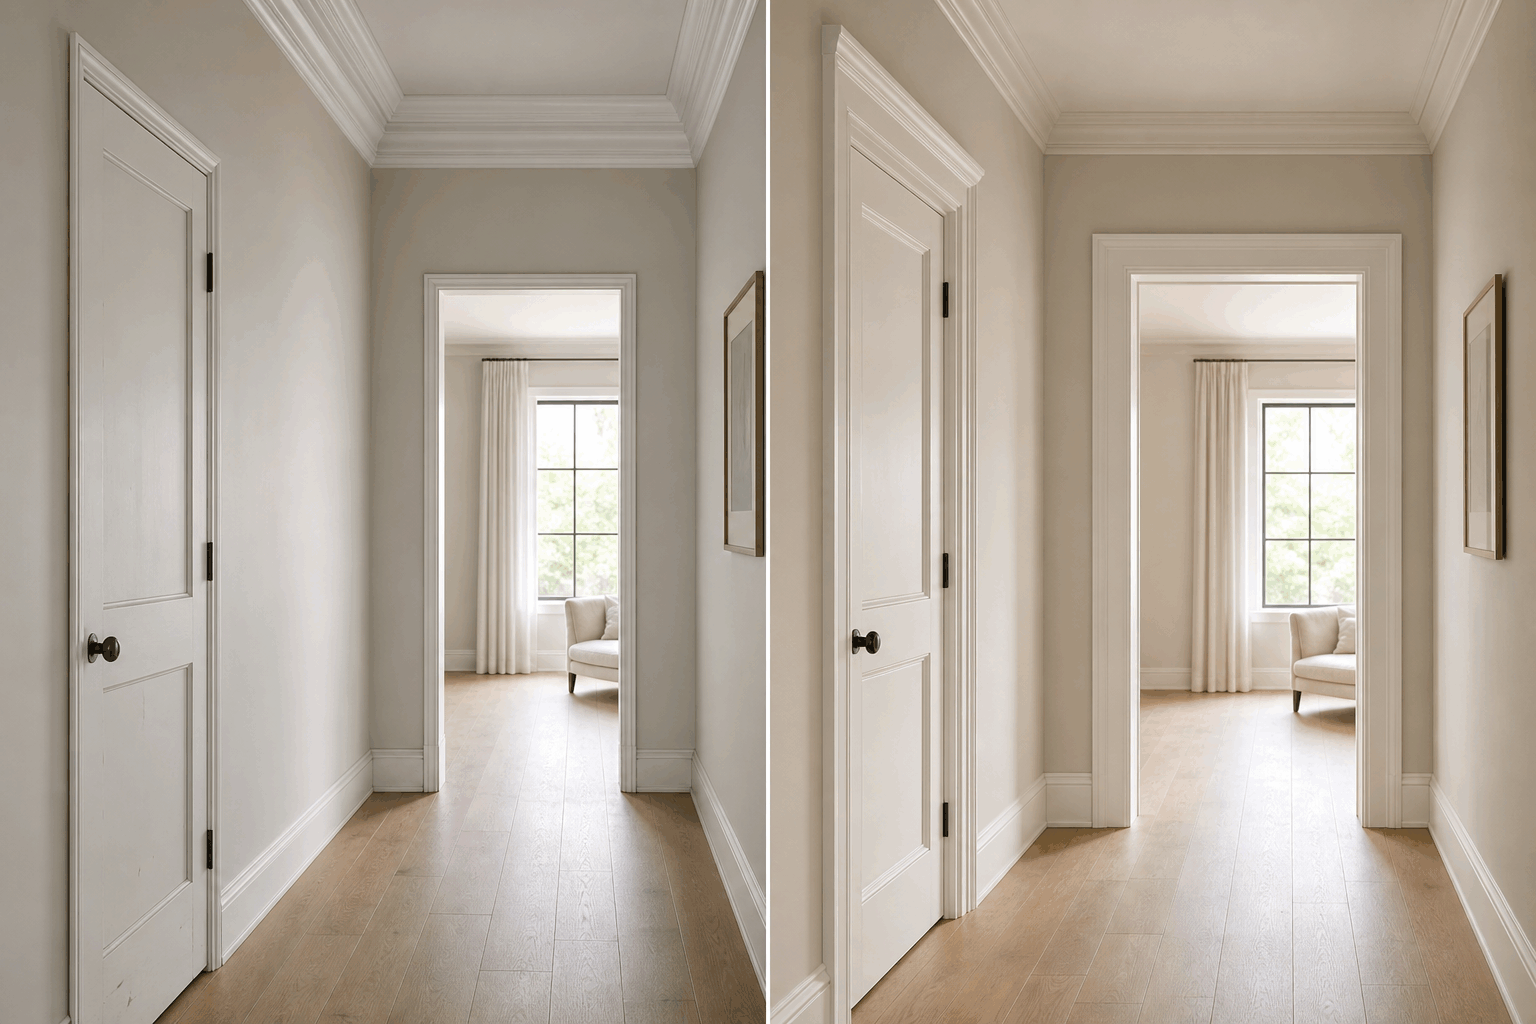
How Big Are Door Casings? Standard Sizes and How to Measure Them
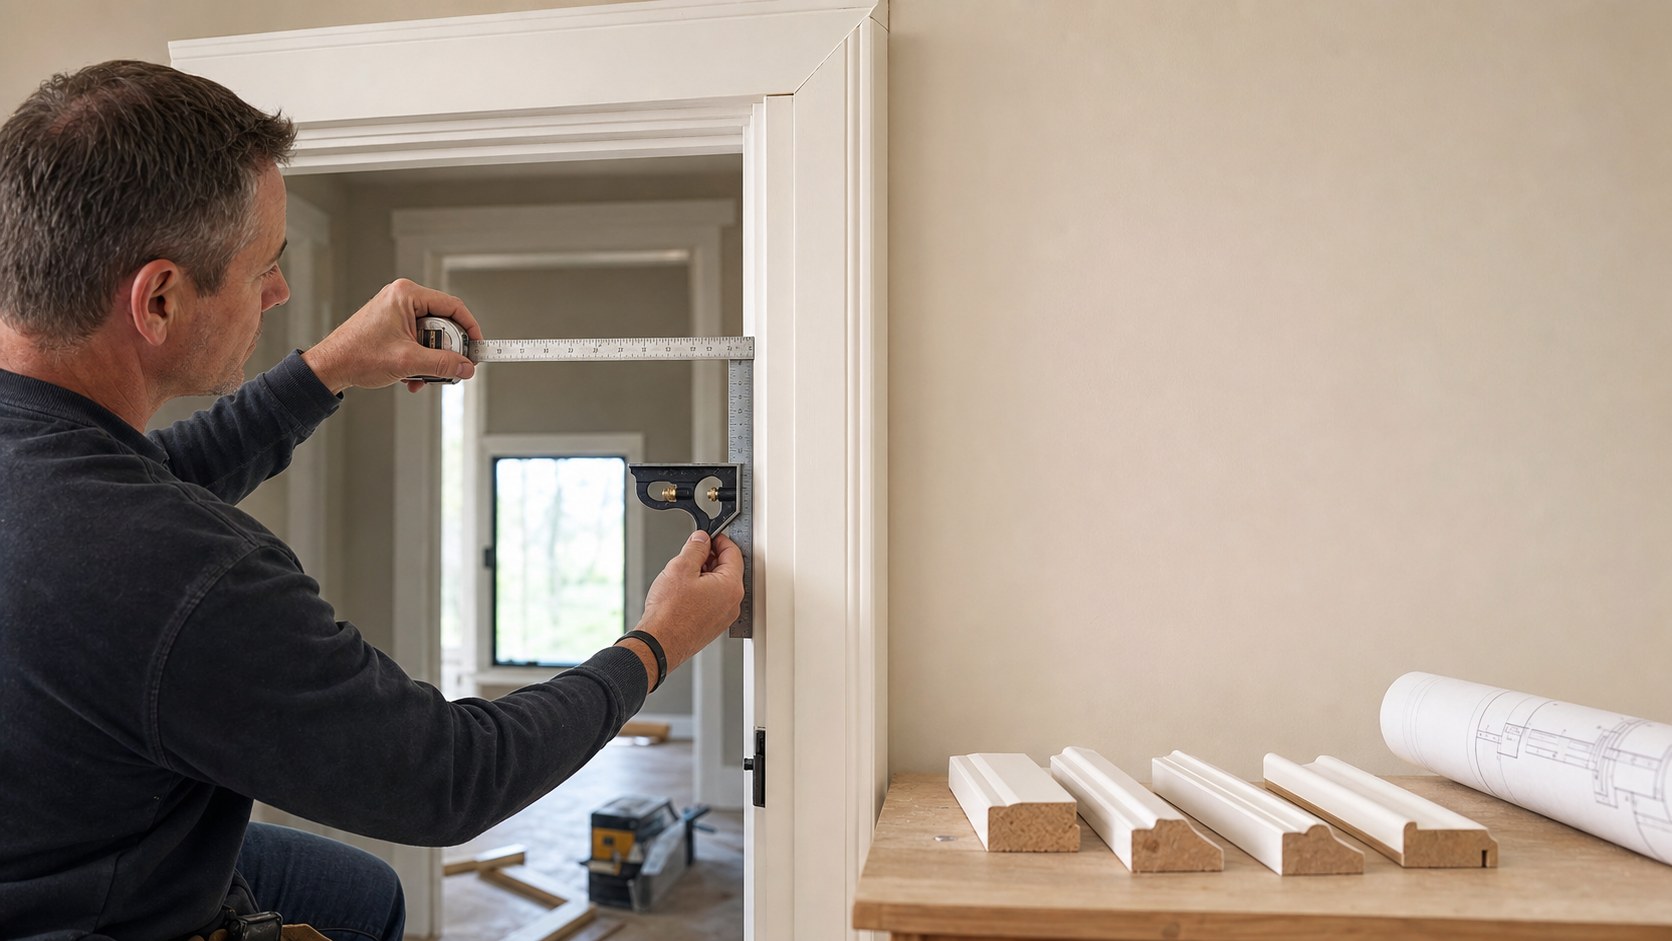
Door casings frame door openings, conceal the joint between the wall and door frame, and create a clean, finished appearance. Choosing the right casing size matters because it affects the installed proportions, ease of installation, and total material requirement.
There is no single size that suits every market or project. Door casing dimensions depend on the architectural style, door size, wall construction, material, and local building practices. This guide explains common door casing sizes and shows how to take reliable measurements for new installations, replacements, and bulk project orders.
What Dimensions Define a Door Casing?
Door casing is usually defined by three main dimensions:
- Face width: the visible width of the molding when viewed from the front.
- Thickness: the distance from the back of the molding to its highest point on the front.
- Length: the length of each casing piece, whether supplied in random lengths, fixed lengths, or factory-cut sizes.
For profiled moldings, a cross-sectional drawing should also show curves, steps, grooves, corner details, and the location of the thickest point. Two products with the same face width can look very different and require different installation methods because of their thickness and profile shape.
Standard Door Casing Sizes
For many residential projects, door casing face widths commonly range from 57 to 89 millimeters (about 2 1/4 to 3 1/2 inches). Narrower moldings suit compact spaces and restrained interiors, while wider moldings create a stronger visual frame.
Typical thicknesses range from 1/2 inch to 1 inch (12 to 25 millimeters), depending on the material and profile. Decorative or composite moldings may be wider or thicker.
These figures are general market references, not strict requirements. The selected casing must coordinate with the door frame, finished wall surface, frame reveal, door proportions, and adjacent trim. For commercial and custom projects, always follow approved drawings and applicable local codes.
How Style Influences Molding Width
Room proportions and architectural style should guide the choice. Narrow, simple profiles work well with minimalist interiors and smaller door leaves. Wider moldings complement tall doors, high ceilings, traditional detailing, and substantial trim packages.
When door casings meet baseboards, compare the width and thickness of both products. If the casing is thinner than the baseboard, a plinth block or another transition detail may be needed to create a clean joint. Coordinating these products during design helps prevent difficult junction problems on site.
How to Measure Door Casings for New Installations
Before measuring, confirm that the door frame is securely installed, plumb, level, and ready for trim. Use a precise tape measure, pencil, framing square, straightedge, and level.
Step 1: Establish the Reveal
The reveal is the narrow, visible portion of the door frame between the inside edge of the casing and the door opening. A consistent reveal helps the casing look straight even when the frame has minor imperfections.
Mark the required reveal at several points along the head and both sides of the door frame. Use the project drawings or installation standard to determine the specified reveal.
Step 2: Measure the Head Casing
Measure the span between the outside edges of the two vertical casing pieces where they meet the head casing. The calculation depends on the corner joint: a 45-degree miter, square butt joint, corner block, or another approved detail.
Do not order or cut the casing from the door leaf's nominal width alone. The casing must fit the installed frame and specified reveal, so verified site measurements are more reliable.
Step 3: Measure the Left and Right Side Casings
Measure from the finished floor, or from the top of the baseboard or plinth block when used, to the joint with the head casing. Measure each side separately because the floor and opening may not be perfectly level or square.
Record which measurement belongs to each side. For factory-precut casing sets, label every component clearly to prevent installation errors.
Step 4: Check the Wall and Frame Plane
Use a straightedge to check whether the finished wall and door frame are on the same plane. If they are offset, the casing may twist or leave gaps after installation, or a jamb extension may be required. Identify this condition before selecting the casing profile and thickness.
For renovation work, also account for plaster, tile, wallpaper, and other finishes that can change the effective wall thickness.
Step 5: Confirm Joints and Cutting Allowance
Mitered joints require accurate angles and sufficient extra length for the cut. Square joints and corner-block arrangements use different length calculations. When components will be cut on site, include a reasonable cutting allowance rather than ordering every piece at its exact finished length.
The allowance should reflect the installation method, installer practice, material value, and expected site tolerances. For large projects, the material schedule should also include an agreed waste factor and spare components for damage or future repairs.
How to Measure Replacement Door Casing
To reproduce an existing profile, do not measure only the visible face width. If possible, remove a short sample and record:
- exact face width and maximum thickness;
- back profile and any grooves;
- edge shapes and decorative details;
- length of each section;
- material and substrate construction;
- surface color, gloss, and texture;
- joint type and frame reveal; and
- connections to baseboards, wall panels, and door frames.
Include a ruler in reference photos, but use physical samples or fully dimensioned drawings for made-to-order production whenever possible. Old casing may be covered by several paint layers or may have warped, so take measurements at multiple points.
Measuring for Bulk and Project Orders
Measuring one opening is straightforward. For a multi-unit project, measurement control becomes a data-management task. Prepare a door schedule that records the opening number, door dimensions, casing model, finish, head length, left-side length, right-side length, joint detail, and quantity for each opening.
Group identical sizes where practical. Standardization improves production, packaging, storage, and installation efficiency. However, structural openings do not always match architectural drawings exactly, so a responsible project representative should verify site conditions before mass production begins.
Factory quotations should state clearly whether the products are supplied in random lengths, fixed lengths, precut pieces, or complete door sets. This affects pricing, waste, packaging, and installation labor.
Door Casing Measurement Mistakes to Avoid
- Using the nominal door leaf size instead of measuring the installed frame.
- Measuring only one side of the opening.
- Ignoring the frame reveal.
- Failing to distinguish mitered joints from butt joints.
- Ignoring an offset between the wall and door frame.
- Forgetting to account for finished-floor height.
- Ordering exact finished lengths without a cutting allowance.
- Mixing metric and imperial units.
- Providing photos without cross-sectional drawings.
Before production, standardize one measurement system and confirm whether every dimension represents a finished product size or a raw-material cutting size.
What Information Should You Give the Manufacturer?
For an accurate quotation for standard or custom door casing, provide:
- project location and intended use;
- door specifications and total quantity;
- face width, thickness, length, and cross-sectional drawings;
- material and performance requirements;
- finish, color reference, and gloss level;
- joint and installation details;
- requirements for random-length, fixed-length, or precut pieces;
- packaging and labeling requirements; and
- destination and required delivery date.
If the design is not yet finalized, an experienced manufacturer can recommend practical molding profiles, materials, and supply options based on the opening details and project requirements.
Final Measurement Recommendations
Accurate door casing measurements help prevent shortages, visible gaps, misaligned joints, and excessive cutting on site. Start from the installed door frame, keep the reveal consistent on both sides, confirm the corner-joint method, and include an appropriate installation allowance.
Standard sizes are useful for planning, but the best door casing size is the one that fits the installed frame, accommodates the finished wall, and matches the building's proportions and installation method. For large orders, approved drawings and a controlled door schedule provide the most reliable basis for production.
How to Choose a Reliable Entrance Door Trim Supplier: A Global Sourcing Guide